
How To
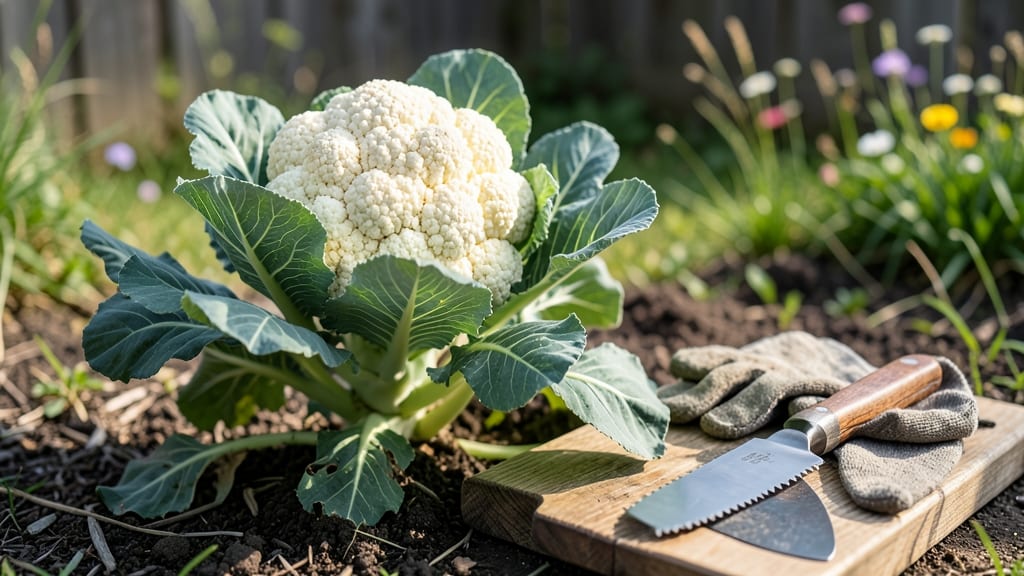
To harvest cauliflower at its peak—when the curds are tight, firm, and packed with flavor—you need to watch for three key signs before cutting.
Picture this: your 🥬 heads are the size of a softball, the outer leaves are turning yellow, and the florets feel solid when you give them a gentle squeeze. Miss this window, and you’ll either pull them too early (loose, underdeveloped) or too late (bitter, split, or yellowing).
Timing is everything, especially in Zone 6a where spring’s chill gives way to summer’s heat. A 5-minute check every few days keeps your harvest perfect—no guesswork, just crisp, snowy-white curds ready for the table.
Below, I’ll walk you through the exact steps to cut your cauliflower, what to do if heads split or yellow, and how to store them so they stay fresh for up to a week in the fridge.
When to harvest cauliflower: identifying the perfect ripeness stage
Harvesting cauliflower at the right time transforms your garden into a treasure trove of snow-white, firm curds instead of bitter, loose florets. The key lies in watching for three critical visual and physical cues: head size, leaf color, and texture.
Miss these signs, and you’ll end up with overmature heads that split or turn yellow—completely ruining the texture and flavor.
Timing depends on your cauliflower variety and local climate. Most standard varieties like 'Snowball Y Improved' or 'Purple of Sicily' mature in 70-100 days, but heat-loving varieties like 'Cheddar' may bolt faster in hot weather.
Always check your seed packet for exact days-to-maturity, but never rely solely on that—your plants will tell you when they’re ready.
| Ripeness Indicator | What to Look For | Action Needed | Common Mistakes |
|---|---|---|---|
| Head Size | 6-8 inches in diameter (varies by variety) | Harvest when firm and fully formed | Waiting too long = split heads |
| Leaf Color | Outer leaves yellowing naturally | Remove yellow leaves before harvest | Green leaves = not ready yet |
| Texture | Firm, dense curd (no soft spots) | Gently squeeze to test firmness | Soft curds = past prime |
| Color Consistency | Uniform white, purple, or orange | Harvest before browning appears | Brown spots = overripe |
| Stem Test | Stem snaps easily when twisted | Cut stem cleanly 1-2 inches down | Hard stem = immature |
Weather plays a surprising role in cauliflower ripening. Hot, dry conditions can cause heads to mature faster and split prematurely, while cool, consistent temperatures (50-75°F) help produce the tightest curds. If your area experiences sudden heatwaves, provide afternoon shade with floating row covers or mulch to keep soil moisture steady.
I’ve seen cauliflower heads go from perfect to split in just 24 hours during a heat spike!
Don’t overlook the variety-specific cues. Purple cauliflower like 'Graffiti' develops a deep violet hue when ready, while orange varieties like 'Cheddar' turn a rich amber color. Always check your seed packet for unique maturity signs—some varieties even change color as they ripen.
For example, 'Romanesco' cauliflower develops its iconic fractal pattern only when fully mature.
One of my biggest mistakes early on was harvesting based solely on days-to-maturity. I’d pull heads at 75 days, only to find they were still loose and underdeveloped. Now, I always combine calendar time with visual checks: size, leaf color, and texture.
This two-step approach ensures I never miss the sweet spot between underripe and overripe cauliflower.
If you’re growing cauliflower in containers or small spaces, watch for head size more closely—dwarf varieties like 'Snowball 409' max out at 6 inches, while standard types can reach 8+ inches.
Container-grown plants also mature slightly faster due to limited root space, so check them 2-3 days earlier than in-ground varieties. Always harvest container cauliflower in the morning when heads are cool and crisp.
Pro tip: Keep a harvest journal for your first few seasons. Note the exact day you harvest each head, along with weather conditions and variety. Over time, you’ll spot patterns—like how 'Purple of Sicily' always ripens 3 days earlier in my zone 7 garden during wet springs.
This personalized data becomes your secret weapon for perfect cauliflower every time.
Remember, cauliflower won’t get sweeter after harvest like tomatoes do. Once it’s past its prime, the texture turns mushy and the flavor becomes bitter. When in doubt, harvest slightly early—you can always store it in the fridge for a few days to let flavors mellow.
But never wait for "perfect" if your heads are splitting or yellowing!
Step-by-step guide to harvesting cauliflower for maximum freshness
Harvesting cauliflower at the right moment transforms your garden into a flavor factory. The difference between a tight, snow-white curd and a loose, bitter mess comes down to timing and technique.
Once your heads reach 6-8 inches in diameter and the outer leaves start yellowing, it’s time to act—before they split or turn yellow.
I’ve learned the hard way that overripe cauliflower loses texture and flavor fast. The key is to harvest when the stem snaps cleanly near the base—this means the head is ready.
Grab your sharp knife, a basket for storage, and follow these steps to ensure your harvest stays fresh for weeks.
If your cauliflower heads grow too large (over 8 inches), they’ll split or become tough. To prevent this, harvest smaller heads first and let side shoots develop. For purple or orange varieties, the same rules apply—just watch for color consistency instead of white.
After harvesting, water deeply and add a light mulch to encourage new side shoots. This keeps your plants productive for weeks longer, giving you multiple harvests per plant. Just remember: consistent moisture is key to preventing bolting.
For organic gardeners, avoid chemical fertilizers post-harvest—they can alter flavor. Instead, use compost tea or fish emulsion to nourish the soil without residue. Your next batch of cauliflower will thank you!