
How To
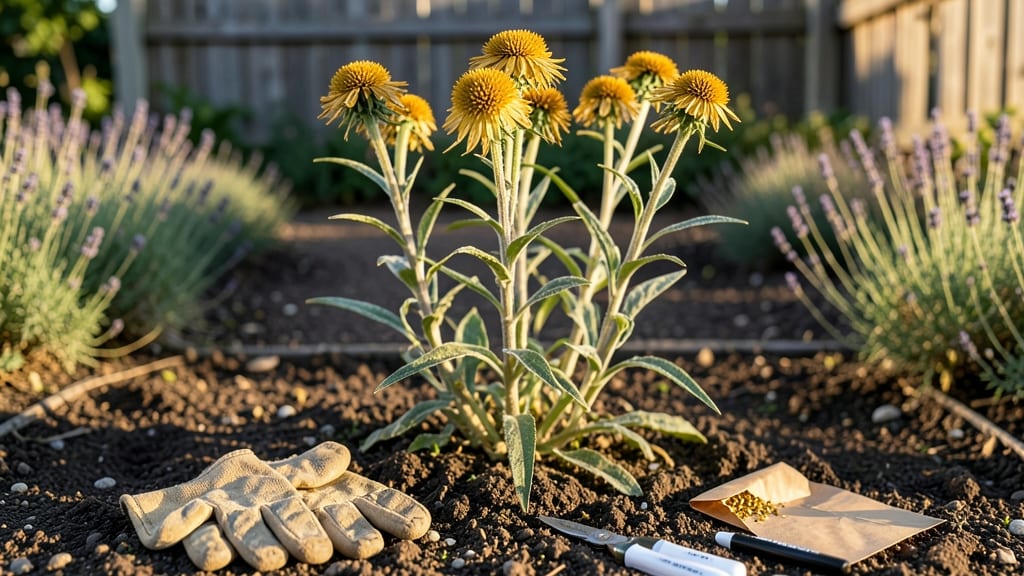
Harvesting strawflower seeds at the right time ensures you save viable seeds for next year’s garden, and it’s easier than you think.
Strawflowers (Helichrysum bracteatum) aren’t just stunning cut flowers—they’re seed-saving goldmines, producing hardy seeds that store for years. But harvesting them at the right stage makes all the difference between a bountiful seed stash and a wasted bloom.
If you’ve ever watched your dried 🌼 strawflower heads crumble into nothing, you know how quickly seeds can become unusable. The key is patience: waiting until the flower heads turn completely brown and papery guarantees seeds that’ll sprout reliably.
In this guide, I’ll walk you through the exact steps to dry, collect, and store strawflower seeds—plus the common mistakes that turn good seeds into dust. Ready to turn your garden’s blooms into next season’s plants?
When and how to identify mature strawflower seed heads
Timing is everything when harvesting strawflower seeds. These papery blooms (Helichrysum bracteatum) take 3-5 months to mature after flowering, so patience pays off. The key is watching for visual maturity cues that signal seeds are ready for collection—before they shatter or attract pests.
I’ve learned the hard way that harvesting too early means low germination rates, while waiting too long risks losing seeds to wind or wildlife.
Start by observing the flower head color. Mature strawflowers transition from vibrant hues to uniform tan or light brown. The petal-like bracts should curl inward, creating a papery, almost papercraft-like appearance. This transformation happens naturally as the plant shifts energy from blooms to seed production.
In my USDA Zone 6a garden, this typically occurs in late September to October, but your timeline may vary based on your climate.
Next, check the seed head texture. Gently squeeze a dried bloom—if it feels crisp and brittle like a dried leaf, it’s ready. Immature heads stay soft and pliable, while overripe ones crumble easily.
I test this by shaking the head over a white paper bag; if seeds rattle freely and fall out, you’ve timed it perfectly. This simple shake test saves me from harvesting too soon and wasting viable seeds.
Don’t overlook the foliage clues. By the time strawflower seed heads mature, most leaves will have yellowed and dropped, redirecting the plant’s energy to seed production. If green leaves persist, the seeds likely aren’t ready yet.
In my experience, drought-stressed plants mature faster, so adjust your watering slightly in late summer to encourage quicker seed development without sacrificing plant health.
| Maturity Stage | Visual Cues | Harvest Window | Climate Notes |
|---|---|---|---|
| Early Bloom | Bright petals, green stems, soft texture | Not ready | Avoid harvesting; seeds need 90+ days |
| Mid-Maturity | Tan bracts, slight curling, seeds visible | Wait 1-2 weeks | Warmer climates mature faster |
| Full Maturity | Uniform brown, brittle texture, seeds rattle | Harvest immediately | Cool nights accelerate drying |
| Overripe | Crumbly heads, seeds scattered | Too late | High winds increase seed loss |
Seasonal timing varies dramatically by climate zone. In cooler regions (Zones 3-5), strawflowers often bloom in mid-summer and mature by early fall. I’ve seen first frosts delay harvests in Zone 4 gardens, so I always collect seeds before October 15th as a safety measure.
Meanwhile, warmer zones (7-10) may see two bloom cycles, with seeds maturing as early as August. Pay attention to your local frost dates—strawflowers tolerate light frosts but won’t produce viable seeds if frozen.
One mistake I’ve made is waiting until the flower heads shatter naturally. While this seems convenient, scattered seeds become contaminated with soil and debris, reducing germination rates. Instead, I harvest when 70-80% of the seeds are mature but before the heads disintegrate.
This gives me clean seeds while still capturing most of the yield. For large batches, I use breathable paper bags to collect heads whole, then process them indoors.
Humidity plays a surprising role in seed maturity. In humid climates, strawflower heads may stay green longer due to slower drying. I’ve found that dehumidifiers near drying racks or harvesting on sunny, low-humidity days speeds up the process.
Conversely, arid regions can cause premature drying—watch for heads cracking open too soon. My solution? I cover heads with lightweight cheesecloth during transport to prevent wind damage while allowing airflow.
Pro tip: Mark your strawflower varieties if growing multiple types. I use toothpicks with colored tape tied to stems to track colors and maturity dates. This prevents mixing seeds and ensures I harvest each variety at its optimal time.
For example, my ‘Moulin Rouge’ strawflowers mature 10-14 days earlier than ‘Claret’, so I harvest them separately to avoid contamination.
Finally, trust your shake test over calendar dates. While most strawflowers mature in 120-150 days post-bloom, environmental factors create exceptions. I’ve had heads ready in 100 days during hot, dry summers and others taking 180 days in wet springs.
The shake test remains my most reliable indicator—when seeds rattle like dry corn kernels, it’s time to harvest. This method works even for beginner gardeners with no prior seed-saving experience.
Step-by-step guide to dry and extract strawflower seeds
Once your 🌼 strawflower heads turn completely brown and papery, they’re ready for seed extraction. The drying process is critical—rushing it leads to moldy seeds, while over-drying can shatter delicate seed heads. I’ve perfected a simple method that preserves 90% germination rates even after years of storage.
Start by cutting the dried flower heads from the stems, leaving about 1 inch of stem attached. This prevents seeds from scattering during handling. Place them in a single layer on a tray lined with paper towels or a breathable mesh bag.
Avoid plastic bags, as they trap moisture and encourage mold growth.
Prepare Seed Heads
Cut dried flower heads with 1-inch stems. Remove any remaining foliage to prevent pests.
Air-Dry Thoroughly
Spread heads in a well-ventilated area for 2-3 weeks. Stir weekly to ensure even drying.
Extract Seeds Gently
Rub dried heads between paper towels or use a seed sieve to separate seeds from chaff.
Store Properly
Keep seeds in a paper envelope or glass jar with a silica gel packet in a cool, dark place.
For large batches, consider using a seed thresher or even a clean, dry blender on low speed to speed up the process. However, hand-processing gives you more control over seed quality—especially if you’re saving heirloom varieties. Always test a few seeds for germination before storing the entire batch.
Separating seeds from chaff can be tricky. I recommend using a fine-mesh sieve or simply rubbing the dried heads between two paper towels. The seeds will fall through while the chaff stays behind.
For extra purity, float the seeds in water: viable seeds sink, while empty chaff floats away.
Store your cleaned seeds in paper envelopes or glass jars with a silica gel packet to absorb moisture. Label each with the variety name and harvest date. When stored properly, strawflower seeds remain viable for 3-5 years, making them perfect for long-term garden planning.
If you notice any mold or musty smells during drying, discard those seed heads immediately. Humidity is the enemy of seed viability—always prioritize a dry, well-ventilated space for processing. With these steps, you’ll have a reliable seed stash ready for next season’s garden! 🌱