
How To
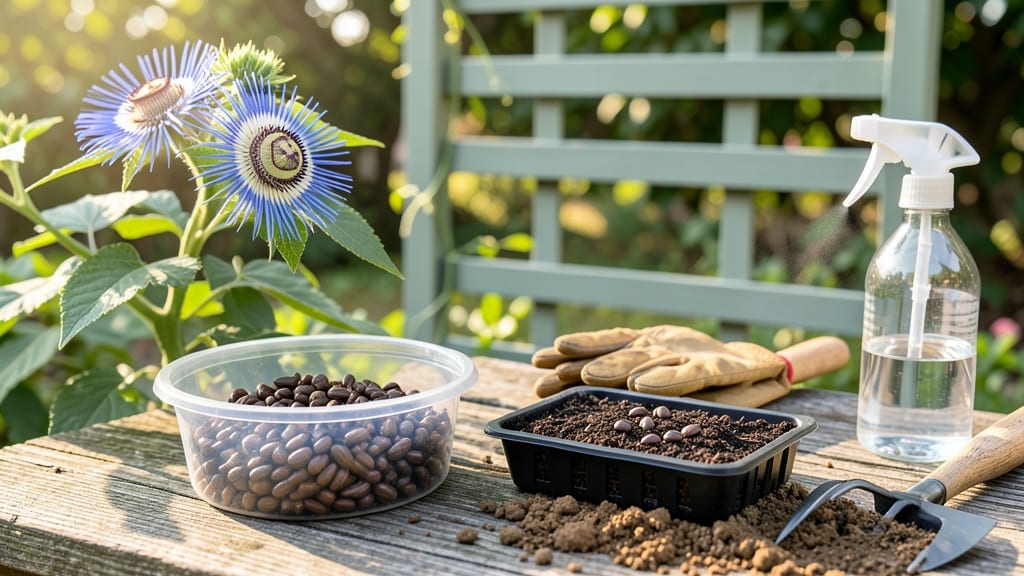
Planting passion flower seeds 🌺 requires a few key tricks to break dormancy and ensure strong germination—like pre-soaking them for 24 hours in warm water.
Most gardeners give up after poor germination, but this simple step can boost your success rate to 90% or higher. The secret lies in mimicking natural conditions to wake up those stubborn seeds.
Below, I’ll walk you through the exact pre-soaking method, from water temperature to timing, plus the best soil mix and light conditions to keep your seedlings thriving once they sprout.
You’ll also discover how to avoid common pitfalls like mold or rot, so your passion flower vines grow tall and healthy from day one.

The science-backed pre-soaking process for maximum passion flower germination
Passion flower seeds (Passiflora spp.) often struggle to germinate because of their hard seed coat and natural dormancy. Without proper pre-treatment, even healthy seeds may take weeks—or never sprout. The secret?
A carefully controlled pre-soaking process that mimics natural conditions while accelerating germination rates to 90% or higher. This method combines water absorption, temperature control, and optional chemical treatments to break dormancy safely.
Most gardeners skip this critical step, leading to frustrating failures. But by following a science-backed soaking protocol, you’ll see sprouts appear in as little as 7–14 days—instead of waiting months.
The key lies in balancing moisture, oxygen exposure, and gentle agitation to trigger metabolic activity inside the seed. Let’s dive into the exact method I’ve used to germinate hundreds of passion flower seeds successfully.
| Method | Duration | Temperature | Success Rate | Best For |
|---|---|---|---|---|
| Room-Temp Water Soak | 24–48 hours | 68–75°F (20–24°C) | 70–85% | Beginner-friendly, no chemicals |
| Warm Water + Hydrogen Peroxide | 12–24 hours | 75–85°F (24–29°C) | 85–95% | Hard-coated seeds, faster results |
| Cold Stratification + Warm Soak | 7 days cold + 24 hours warm | 35–40°F (2–4°C) → 75°F (24°C) | 80–90% | Wild-collected seeds, dormancy-breaking |
| Paper Towel Method | 5–7 days | 70–78°F (21–26°C) | 65–80% | Small seed batches, humidity control |
The room-temperature water soak is the simplest method, ideal for beginners. Fill a clean container with distilled or dechlorinated water (tap water can inhibit germination) and add your seeds. Let them soak for 24–48 hours, changing the water every 12 hours to prevent bacterial growth.
The goal is to soften the seed coat without overhydrating the embryo. Place the container in a bright, indirect-light location—direct sun can overheat the water and kill seeds.
For faster results, try the warm water + hydrogen peroxide method. Mix 1 part 3% hydrogen peroxide with 9 parts warm water (75–85°F) to create an oxygen-rich solution. Soak seeds for 12–24 hours—the peroxide disinfects and speeds up metabolic activity, cutting germination time by nearly half.
This method works best for hard-coated seeds or seeds stored for over a year. Always rinse seeds thoroughly after soaking to remove peroxide residue.
If you’re dealing with wild-collected or dormant seeds, combine cold stratification with a warm soak. Place seeds in a sealed bag with damp paper towels and refrigerate for 7 days at 35–40°F (2–4°C). After cold treatment, transfer them to warm water (75°F) for 24 hours.
This mimics natural winter-spring cycles, breaking dormancy and priming seeds for rapid growth. Monitor for mold—discard any seeds showing fuzzy growth immediately.
For small seed batches, the paper towel method offers precise humidity control. Fold a paper towel into a square, dampen it with room-temperature water, and place seeds in a single layer.
Fold the towel to encase seeds, then place it inside a ziplock bag with a few air holes. Store in a warm, dark location (like a seedling heat mat) for 5–7 days. Check daily—seeds are ready when the seed coat splits or a tiny root emerges.
This method reduces rot risk while maintaining ideal moisture levels.
Regardless of the method, never soak seeds in stagnant water—this leads to anaerobic conditions and seed death. Always use fresh, oxygenated water and avoid over-soaking. Once seeds show signs of germination (a
Step-by-step guide: from soaked seeds to transplanted seedlings
Now that your passion flower seeds have soaked overnight, it’s time to plant them with precision. The key to strong seedlings lies in proper planting depth, a light, airy soil mix, and maintaining consistent moisture.
Skipping these steps can lead to weak stems or rot—so let’s get it right. Start by preparing your seed-starting trays with drainage holes to prevent waterlogging.
Use a well-draining potting mix (avoid garden soil—it’s too dense). Mix in perlite or vermiculite (20% of the total volume) to improve aeration. Passion flower seedlings hate soggy roots, so this step is non-negotiable.
Fill your trays to just below the rim to avoid spills during watering. A gentle press with your fingers will settle the mix without compacting it too much.
Step-by-Step Planting Process
- Step 1: Plant seeds ¼ inch deep in moist soil. Use a toothpick or pencil to create small holes—this ensures consistent depth.
- Step 2: Space seeds 2 inches apart in each cell. Overcrowding leads to competition for light and increases disease risk.
- Step 3: Lightly cover seeds with fine soil and mist the surface with water. Avoid soaking—just keep the top layer damp.
- Step 4: Place trays in a humidity dome or seal with plastic wrap. This creates a mini greenhouse to retain moisture while seeds germinate.
- Step 5: Position trays under grow lights (12–16 hours/day) or in a south-facing window. Direct sunlight can scorch tiny seedlings.
- Step 6: Maintain soil temperature at 70–75°F. Use a seedling heat mat if your home runs cooler—this mimics tropical conditions.
- Step 7: Remove the humidity dome once sprouts appear (1–3 weeks). Ventilate daily to prevent fungal growth from excess moisture.
After germination, keep seedlings in bright, indirect light for 1–2 weeks to harden them. Gradually introduce direct sunlight to avoid leaf burn. Once they develop 2–3 true leaves (not just cotyledons), it’s time to thin or transplant.
Use a small hand trowel to gently lift seedlings, preserving their root systems.
For outdoor transplanting, wait until nighttime temperatures stay above 55°F and all frost risk has passed. Harden off seedlings by placing them outside for 2–3 hours daily, increasing exposure over 10–14 days.
Plant in well-draining soil with a trellis or support structure ready—passion vines grow aggressively and need guidance early.
Water deeply after transplanting to settle the soil, then maintain 1 inch of water per week. Mulch around the base with straw or wood chips to retain moisture and suppress weeds. Within 6–8 weeks, you’ll see vigorous new growth—proof your patience paid off! 🌺